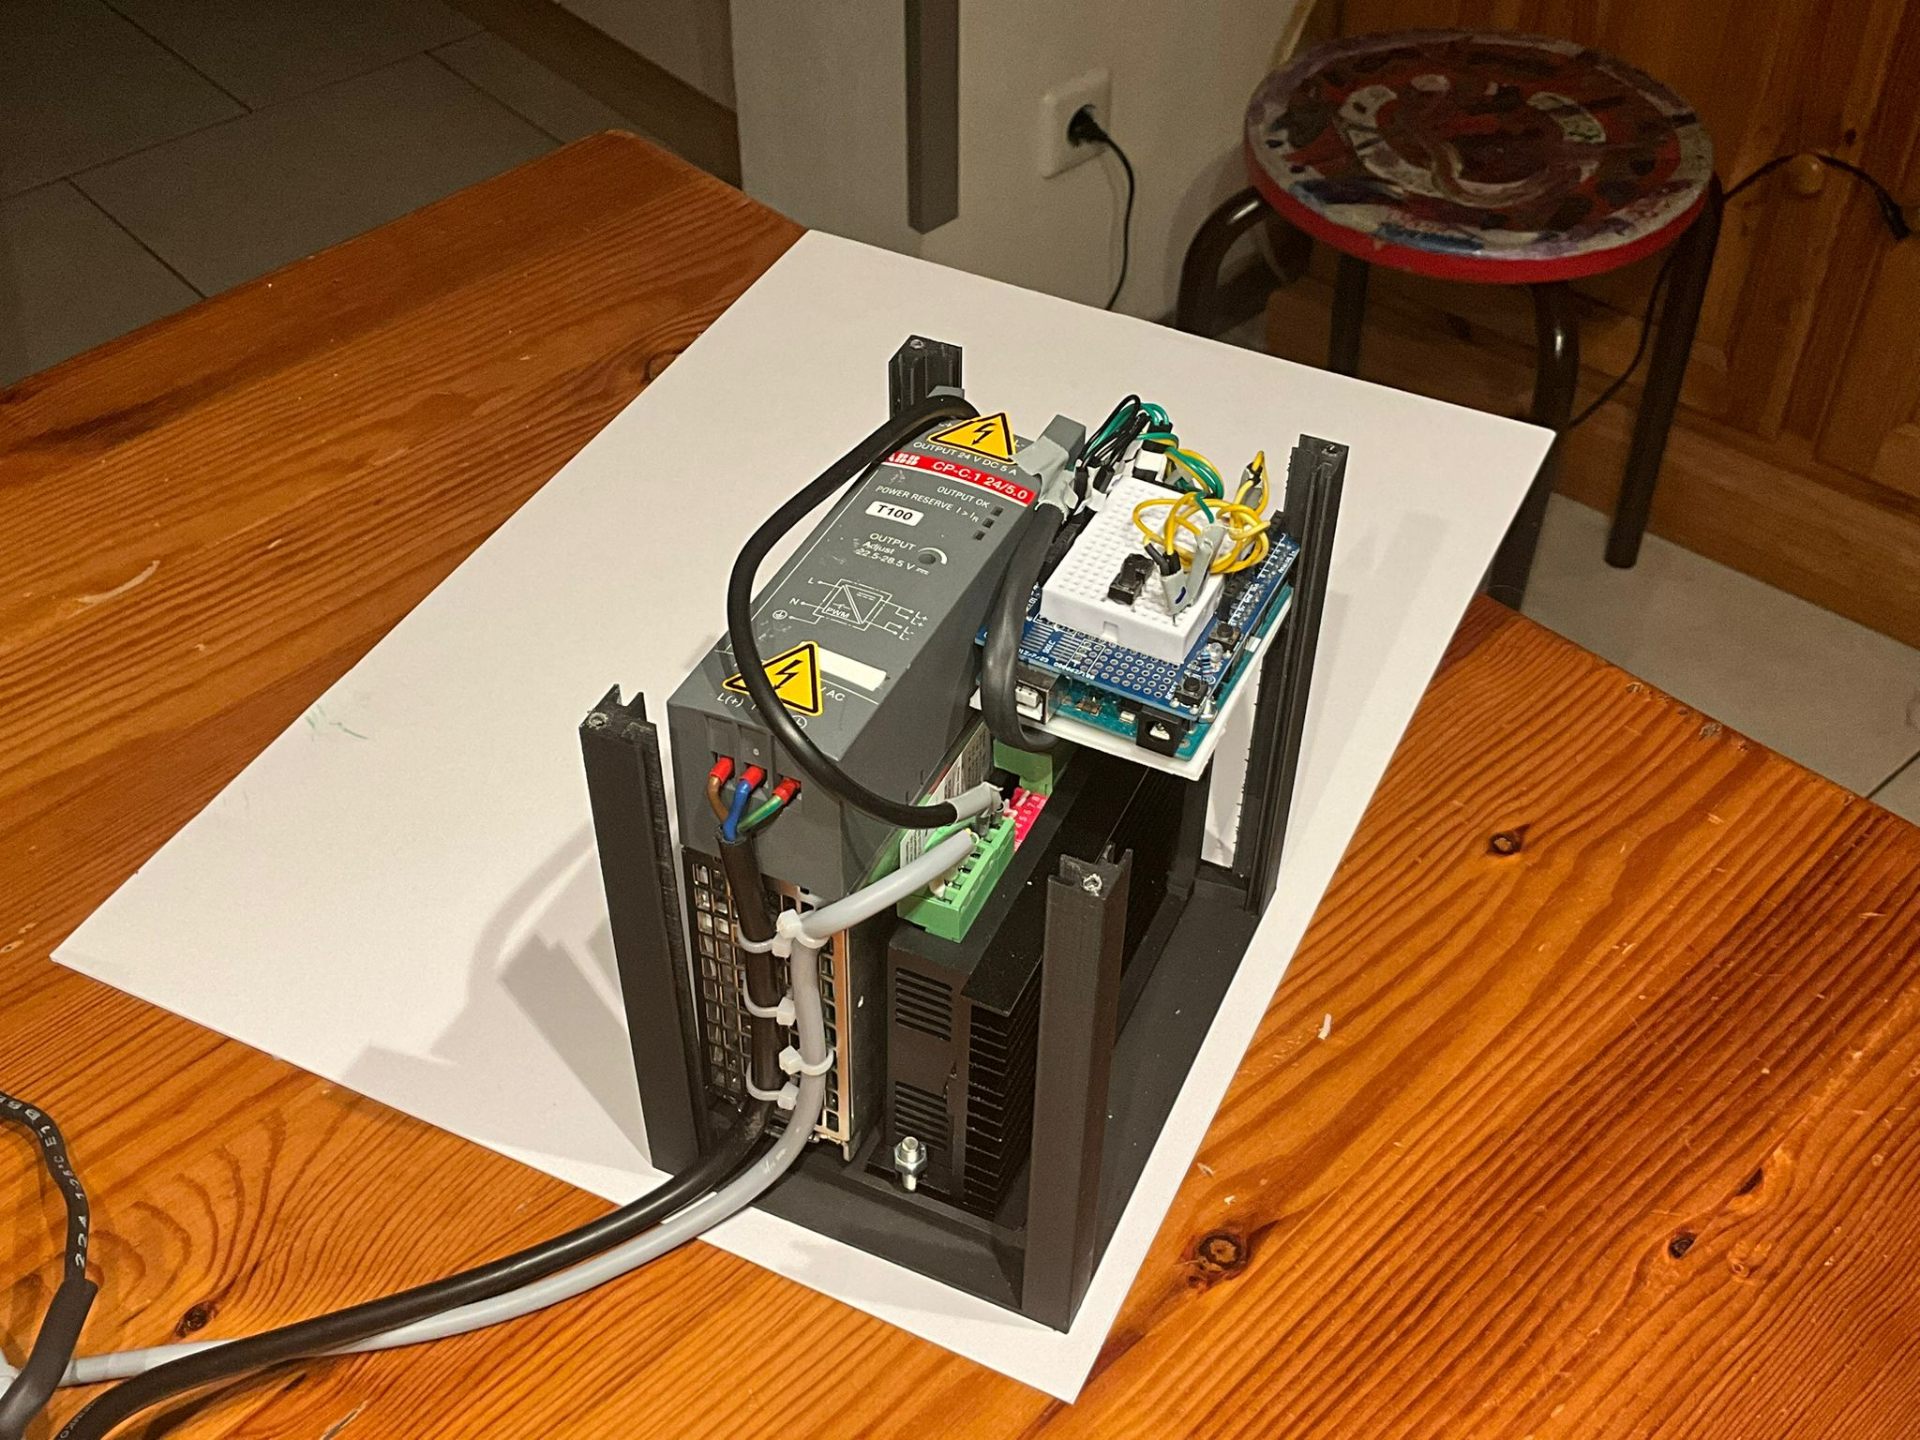
Stepper Unit
2025
Leadshine DM556T · ABB CP-C.1 24/5.0 · Arduino · CAD housing
A stepper motor, brought to life from first principles. Mains current enters an industrial 24 V DC supply, is conditioned by a microstepping driver, and is released into a bipolar hybrid stepper as precise, repeatable pulses — orchestrated by an Arduino sketch.
Power electronics, logic and motor share a single custom housing, modelled in CAD and printed in black PLA. Three sides closed in Plexiglas so the wiring, the driver board and the heat sinks stay legible.
A study in control: precise, repeatable, silent.
| Driver | Leadshine DM556T |
| Power supply | ABB CP-C.1 24/5.0 (24V, 5A) |
| Controller | Arduino + breakout |
| Housing | Custom CAD, 3D-printed PLA |
| Glazing | Plexiglas, 3 of 4 sides |
| Input | 230 V AC |
| Edition | Prototype, unicate |
Pricing
On request
Shown as a technical study. Contact the studio for a custom version, a similar commission or to discuss the build.
A working prototype. Mains-fed (230 V AC) and intended to be visible — not a consumer product. Operated only under supervision.
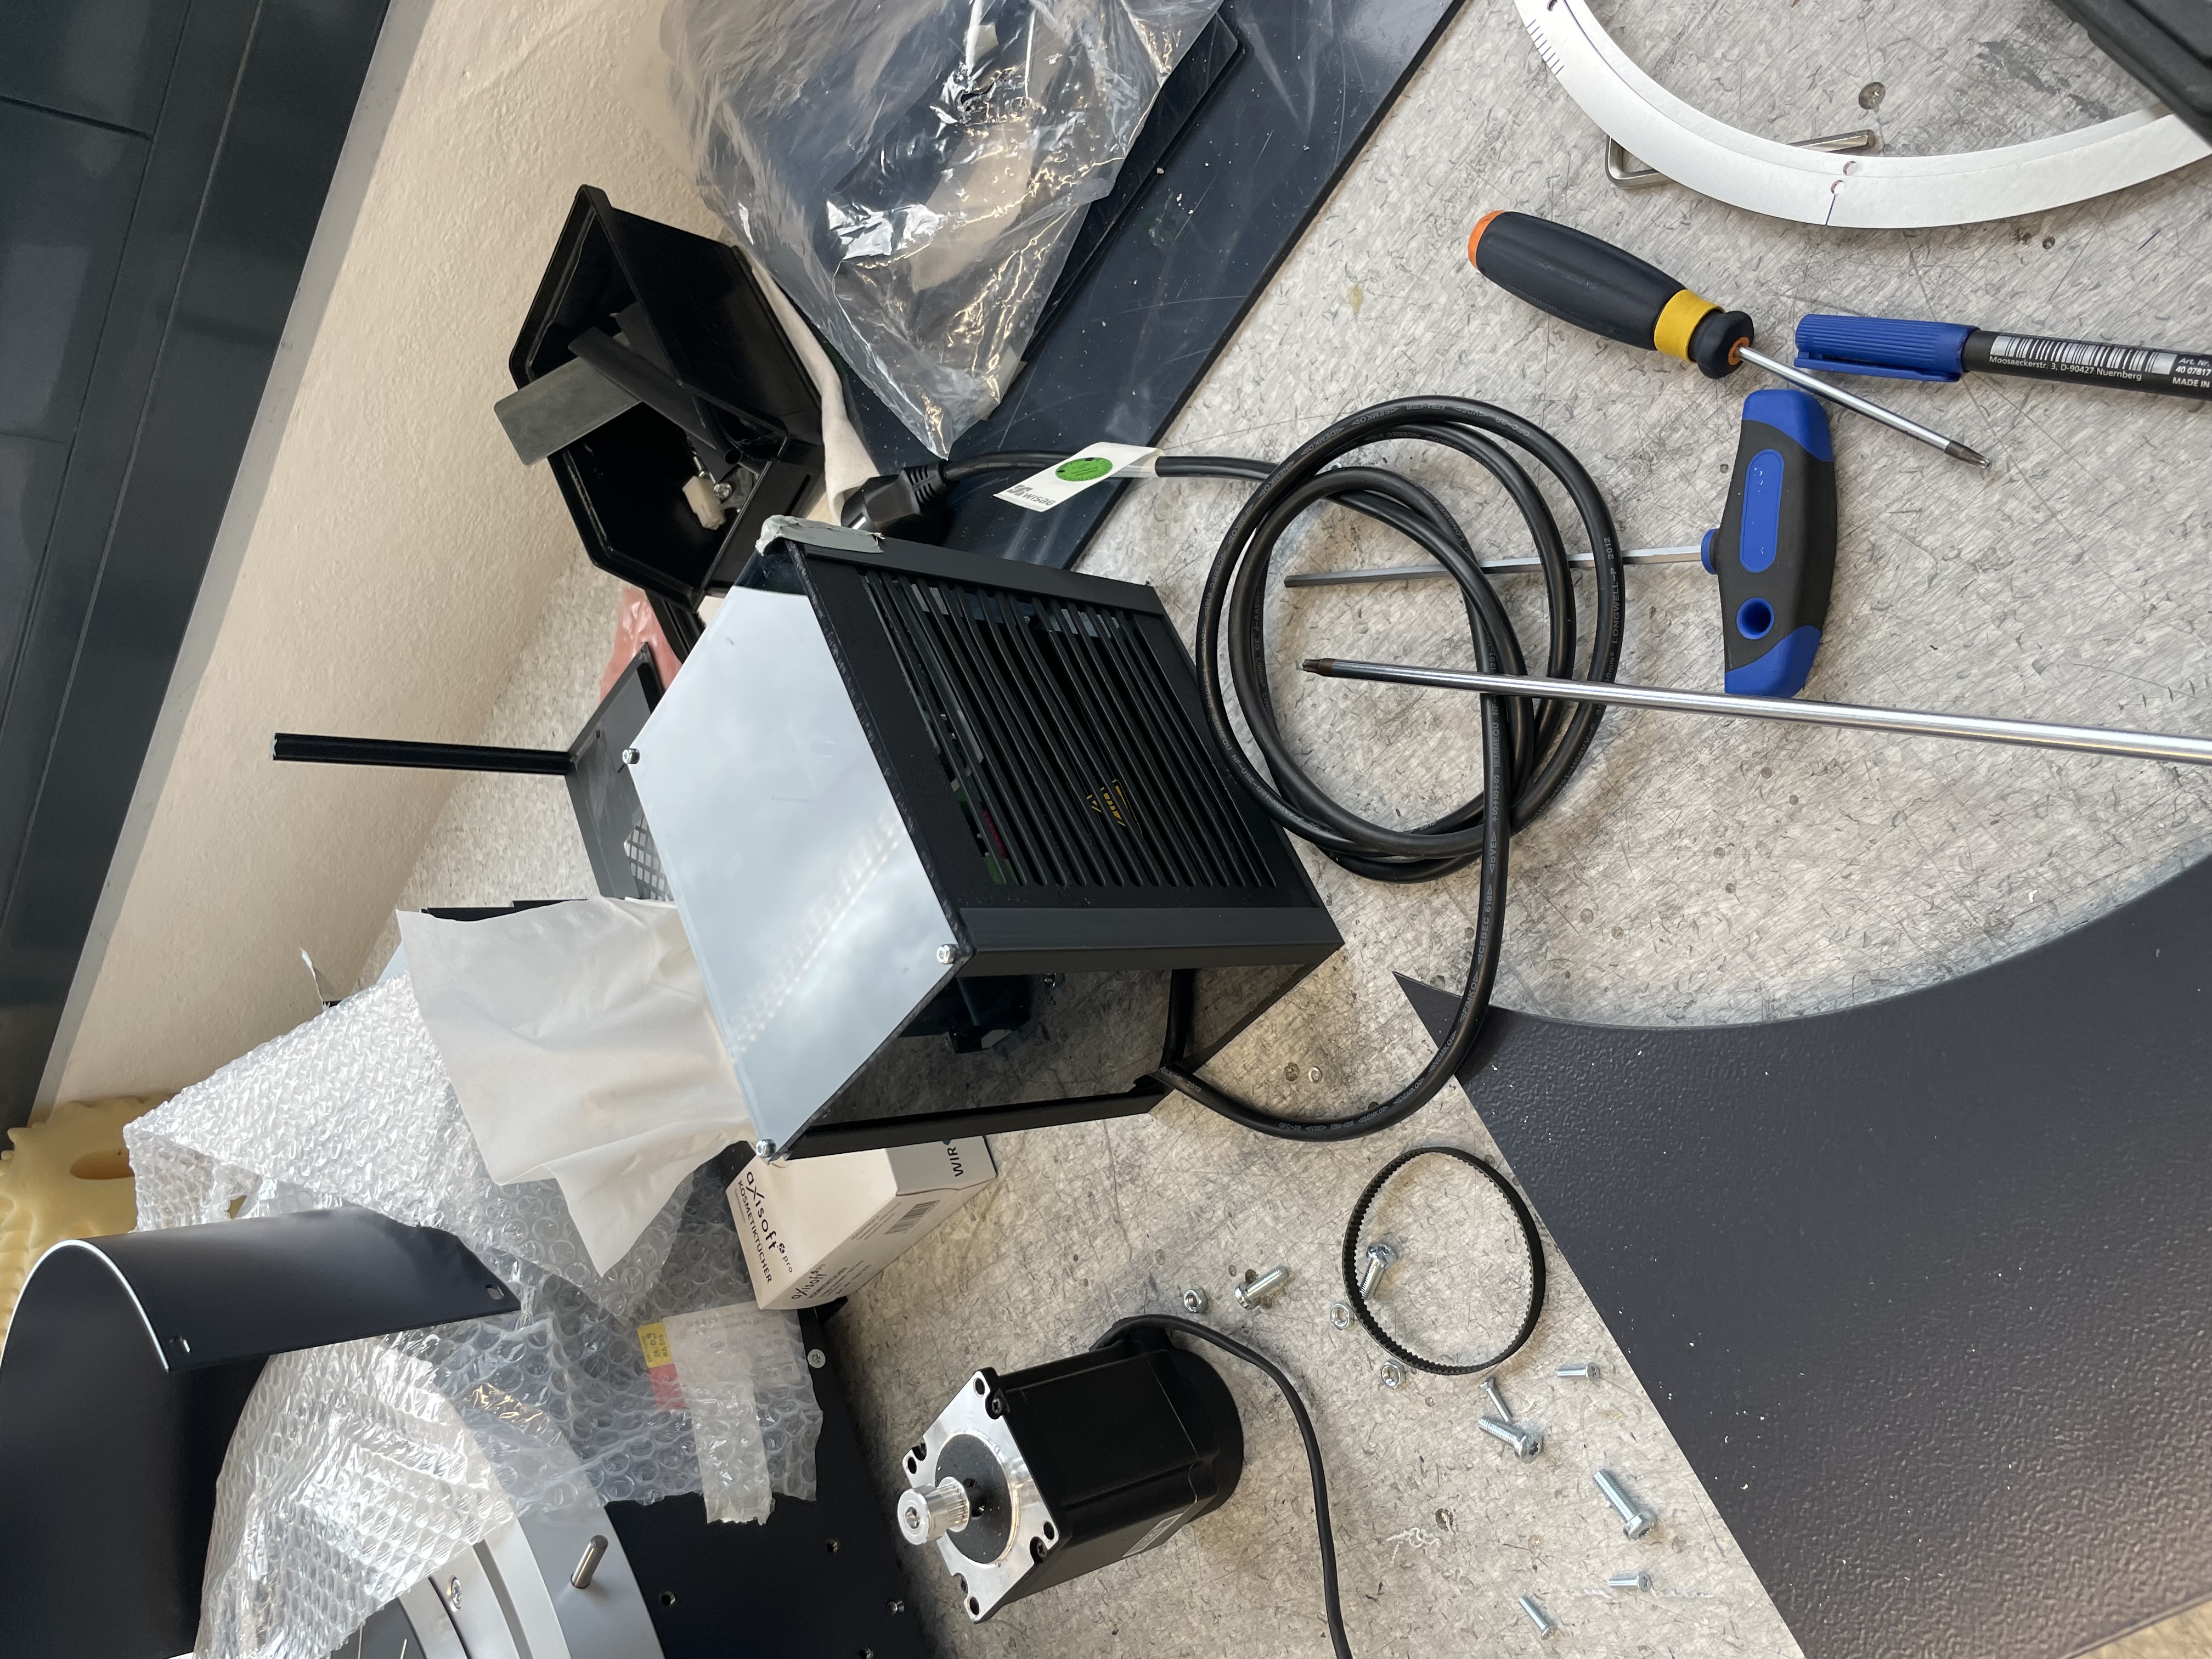
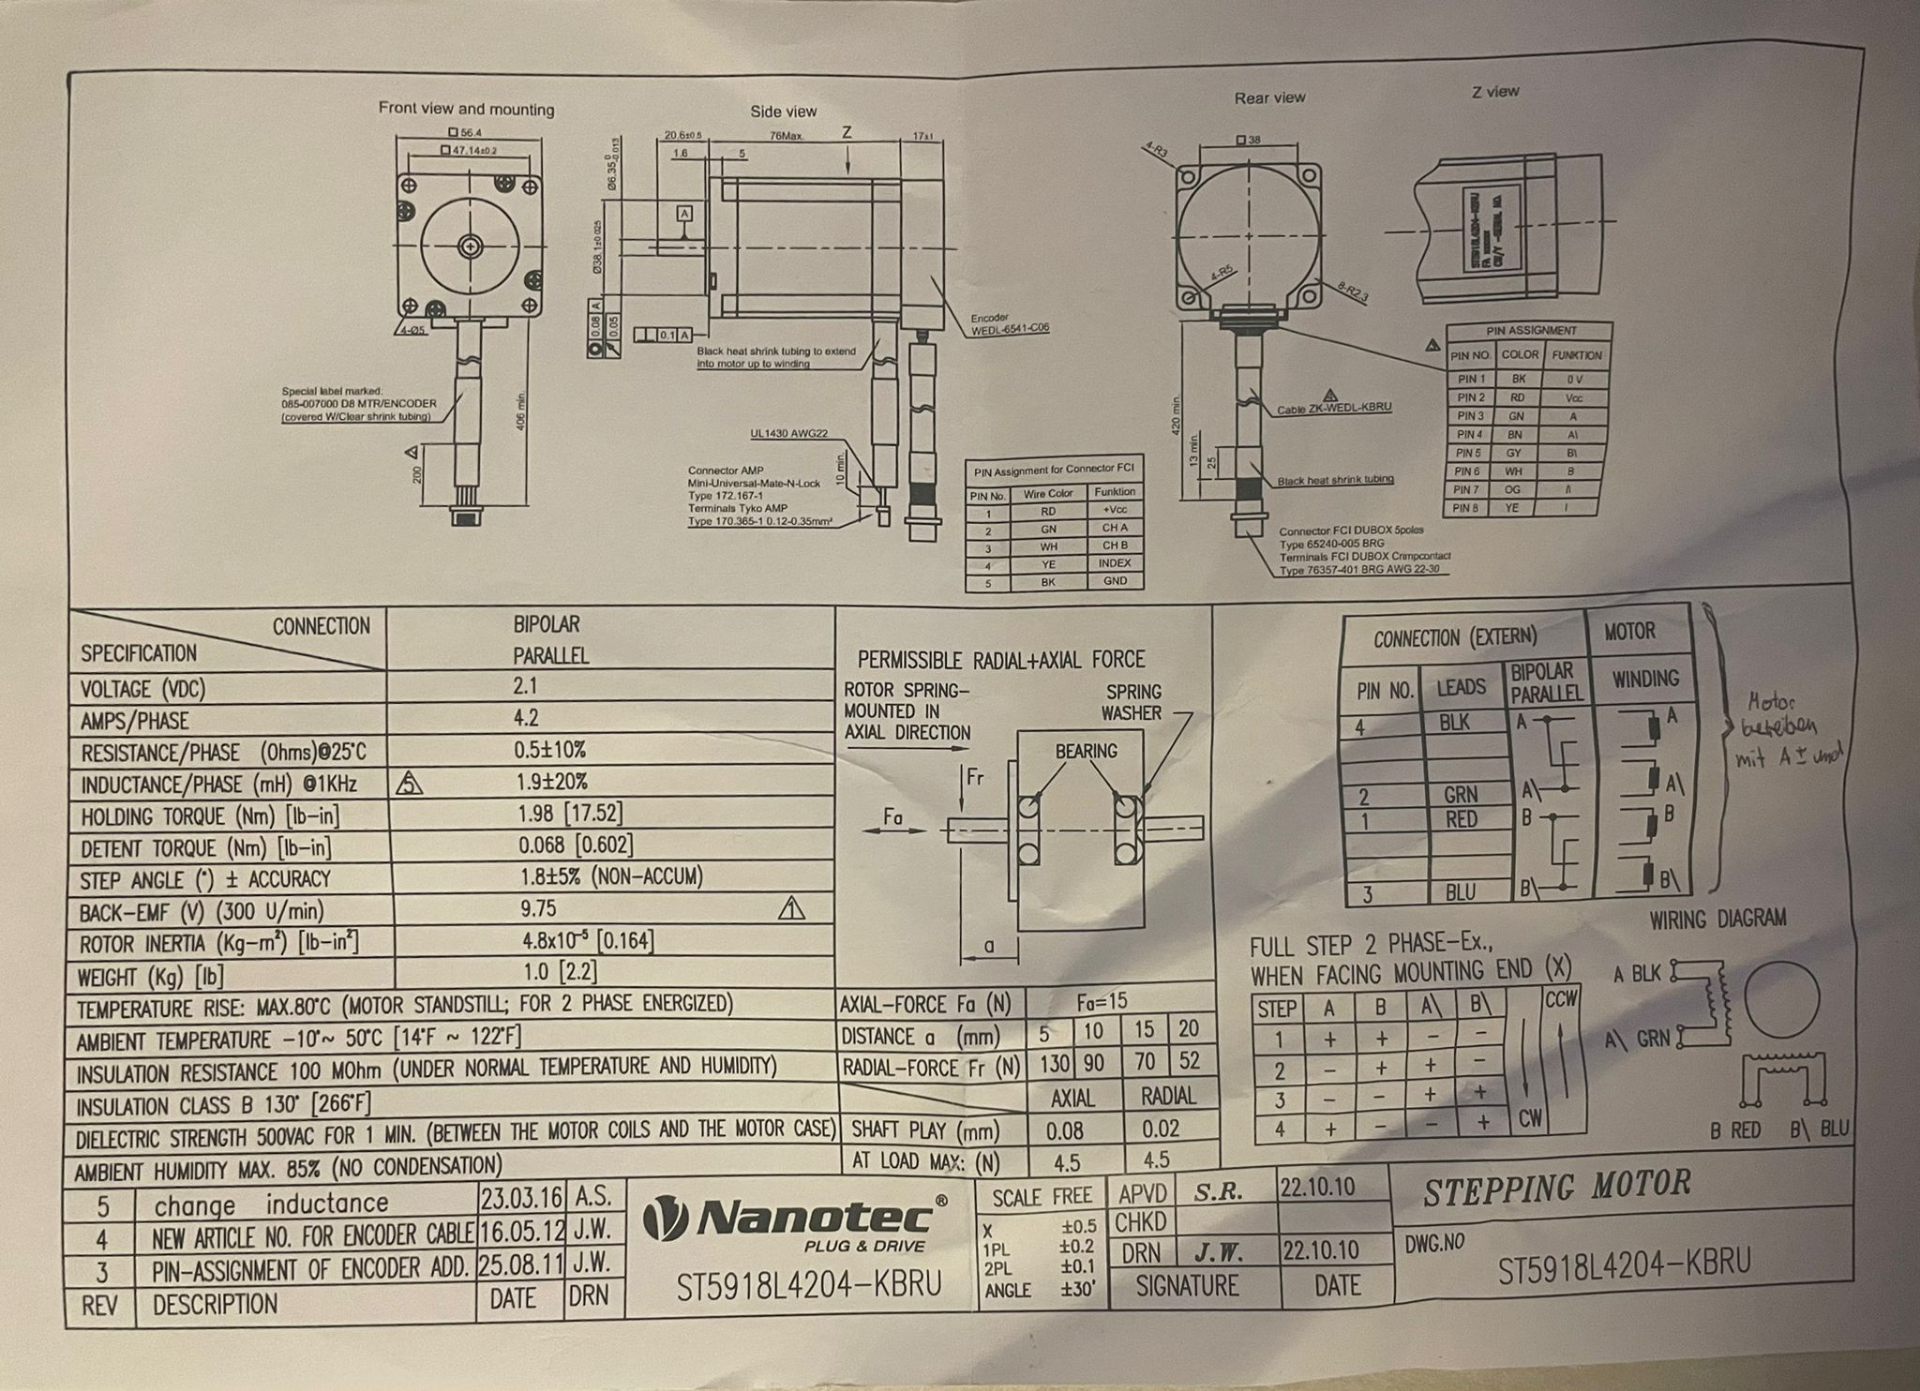
How it works — every layer, visible.
Three subsystems stacked inside one printed enclosure: a 24 V DC industrial power supply, a microstepping driver, and an Arduino controller. Each one chosen for honesty — datasheet-grade parts, no shortcuts.
The numbers below are taken straight from the manufacturer datasheets.
Driver — Leadshine DM556T
| Type | Digital microstepping, 2-phase |
| Input voltage | 20 – 50 V DC |
| Output current | 1.8 – 5.6 A peak |
| Microstep resolution | Up to 25 600 steps / rev |
| Logic signal | 5 V opto-isolated (PUL / DIR / ENA) |
| Pulse frequency | 0 – 200 kHz |
| Protection | Over-voltage, over-current, short-circuit |
Power supply — ABB CP-C.1 24/5.0
| Input | 100 – 240 V AC, 50/60 Hz |
| Output | 24 V DC, 5 A (adjustable 22.5 – 28.5 V) |
| Output power | 120 W continuous |
| Efficiency | ≥ 89% |
| Mounting | DIN-rail, vertical |
| Protection | Output OK signal, short-circuit proof |
Control & enclosure
| Controller | Arduino UNO + prototyping shield |
| Wiring | PUL+/PUL− and DIR+/DIR− from D-pins |
| Housing | Custom CAD, FDM print, black PLA |
| Wall thickness | 3 mm, internal ribs |
| Glazing | Plexiglas panels, 3 of 4 sides |
| Footprint | ≈ 180 × 140 × 200 mm |
| STL | Available on request |
Driver current is set just below the motor's rated phase current to keep thermal load in a quiet, dimensionally stable range.
Leadshine DM556T — driver datasheet.pdf
Original manufacturer datasheet for the Leadshine DM556T microstepping driver used in this build. Wiring, current settings, microstep tables and protection thresholds.
Arduino sketch — ramping speed, button control
// Test: Ramping speed while button pressed (Common-Anode)
// PUL+/DIR+/ENA+ -> +5V
// PUL- -> STEP (D9), DIR- -> DIR (D8), ENA- -> ENA (D7 or GND)
// Buttons: BTN_R (D3) for direction right, BTN_L (D2) for left (INPUT_PULLUP)
// LEDs: RED (D4, leuchtet wenn Motor läuft), GREEN (D5, leuchtet wenn Motor stillsteht)

#define STEP 9
#define DIR  8
#define ENA  7
#define BTN_L 2
#define BTN_R 3
#define LED_RED   4
#define LED_GREEN 5

void setup() {
  pinMode(STEP, OUTPUT);
  pinMode(DIR, OUTPUT);
  pinMode(ENA, OUTPUT);
  pinMode(BTN_L, INPUT_PULLUP);
  pinMode(BTN_R, INPUT_PULLUP);

  pinMode(LED_RED, OUTPUT);
  pinMode(LED_GREEN, OUTPUT);

  digitalWrite(ENA, LOW);  // Enable active LOW
  digitalWrite(DIR, LOW);
  digitalWrite(STEP, HIGH); // idle HIGH for CA

  // Anfangszustand: Motor still -> grün an, rot aus
  digitalWrite(LED_GREEN, HIGH);
  digitalWrite(LED_RED, LOW);
}

void loop() {
  if (digitalRead(BTN_L) == LOW || digitalRead(BTN_R) == LOW) {
    // Motor läuft -> rote LED an, grüne LED aus
    digitalWrite(LED_RED, HIGH);
    digitalWrite(LED_GREEN, LOW);

    // Richtung setzen
    if (digitalRead(BTN_L) == LOW) digitalWrite(DIR, LOW);
    if (digitalRead(BTN_R) == LOW) digitalWrite(DIR, HIGH);

    // Ramp: von langsam zu schnell, solange Taster gedrückt
    for (int delayUs = 2000; delayUs >= 200; delayUs -= 50) {
      if (digitalRead(BTN_L) == HIGH && digitalRead(BTN_R) == HIGH) break; // losgelassen
      stepOnce(delayUs);
    }
    // If still pressed, hold a high-speed constant
    while (digitalRead(BTN_L) == LOW || digitalRead(BTN_R) == LOW) {
      stepOnce(150); // high speed step (150 us spacing)
    }
  } else {
    // kein Taster: Motor still -> grün an, rot aus
    digitalWrite(LED_GREEN, HIGH);
    digitalWrite(LED_RED, LOW);
    delay(10);
  }
}

void stepOnce(int spacing_us) {
  digitalWrite(STEP, LOW);
  delayMicroseconds(50);
  digitalWrite(STEP, HIGH);
  delayMicroseconds(spacing_us);
}
Uploaded to the Arduino UNO inside the Stepper Unit. Drives the DM556T via PUL/DIR/ENA with two push-buttons for direction and ramp-to-speed behaviour.
Gehäuse für Netzteil, Motortreiber & Arduino
3D-gedrucktes Gehäuse, das Netzteil, DM556T-Treiber und Arduino UNO zusammenführt. Mit Maus drehen, scrollen zum Zoomen, rechte Maustaste zum Verschieben.